Posts By Scott Mapes
-

 2.7K2013-14 Season
Photo Gallery: Michigan 66, Minnesota 56
All photos by Scott Mapes. Full gallery after the jump.
-

 2.4K2013-14 Season
Photo Gallery: Michigan 79, Michigan State 70
All photos by Scott Mapes. Full gallery after the jump.
-
2.5K2013-14 Season
Photo Gallery: Wisconsin 75, Michigan 62
All photos by Scott Mapes. Full gallery after the jump.
-
2.1K2013-14 Season
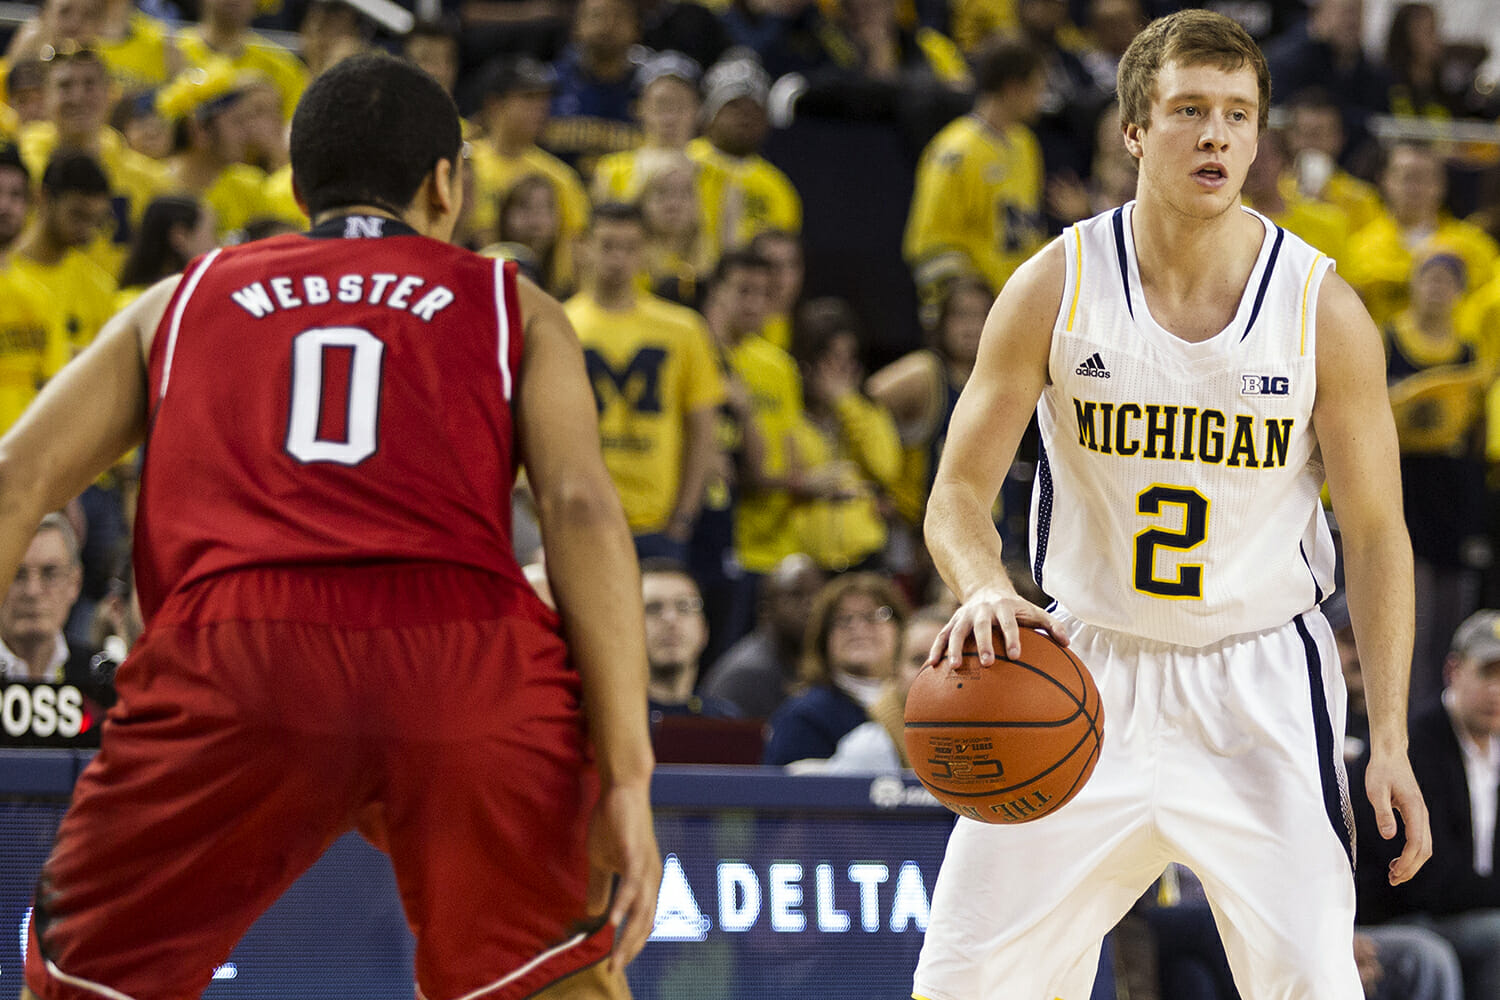
Photo Gallery: Michigan 79, Nebraska 50
All photos by Scott Mapes. Full gallery after the jump.
-
3.0K2013-14 Season
Photo Gallery: Michigan 75, Purdue 66
All photos by Scott Mapes. Full gallery after the jump.
-
2.6K2013-14 Season
Photo Gallery: Michigan 75, Iowa 67
All photos by Scott Mapes. Full gallery after the jump.
-
 2.1K2013-14 Season
Photo Gallery: Michigan 80, Penn State 67
All photos by Scott Mapes. Full gallery after the jump.
-
1.9K2013-14 Season
Photo Gallery: Michigan 74, Northwestern 51
All photos by Scott Mapes. Full gallery after the jump.
-
2.3K2013-14 Season
Photo Gallery: Michigan 88, Holy Cross 66
All photos by Scott Mapes. Full gallery after the jump.
-
3.1K2013-14 Season
Photo Gallery: Michigan 107, Houston Baptist 53
All photos by Scott Mapes. Full gallery after the jump.